Tile Map Baking Tutorial
Often times, models tend to have multiple textures that are "tiled", that is, repeating on both the X and Y axis of the UV map. This is so the model can use a single texture for a specific group of faces and can aid in making certain pieces of the model look whole, without visible lines distinguishing where one UV island ends and the next begins. However such techniques add to the inefficiency of the model as more and more textures can start to pile up in memory that will only be used for a single model. Solving this problem can be a pain, but baking tile mapped textures to a single bitmap is relatively easy and will free up memory for other assets.
The Basics
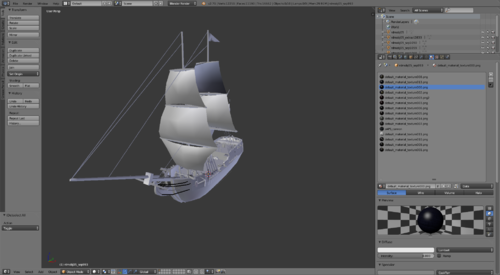
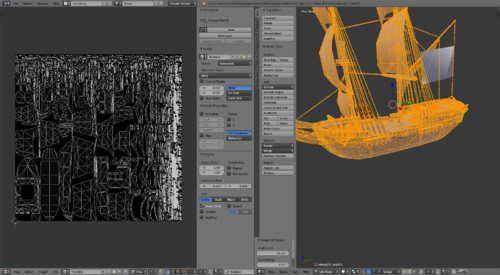
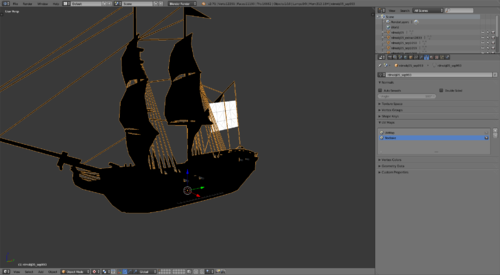
First you'll need to bring your model up in Blender. Here I have a model with 15 separate textures.
We most definitely DO NOT want to use 15 textures for a single model, especially such a unique design that won't be used often.
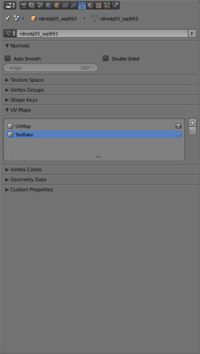
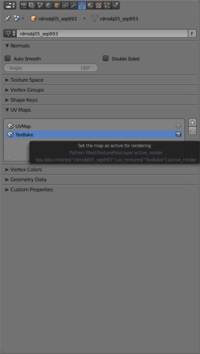
To work around this, open up the object geometry menu and create a new UV map. I named mine TexBake but you could even name it Snuffleupagus, FSO and Blender won't care either way.
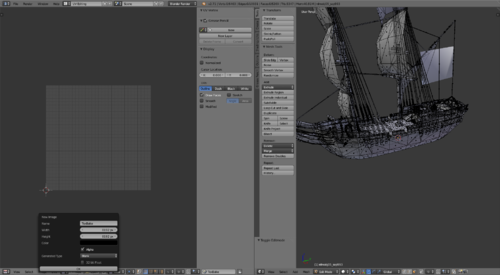
Create a texture to bake to and set its resolution to 8192x8192. This isn't required but it is recommended as it makes the resolution loss less apparent when scaled down to 4096x4096 or 2048x2048.
Now it's time to check out the UV map.
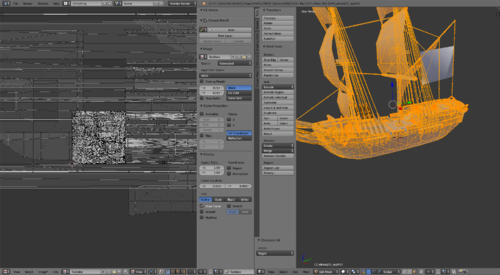
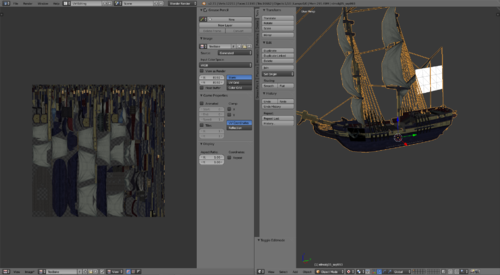
Wait, that's the first UV map used for the tile textures! It's okay though, because we actually ARE using the UV map you created, which is just a copy of the original at this point. Just do a Smart UV Project ("U">Smart UV Project) to fit everything within the bounds of the texture.
Much better. Now it's time to get everything ready for baking. Start by setting your new UV map as the Bake-To map by clicking the camera next to it in the Geometry menu.
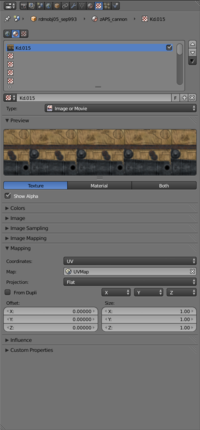
The materials require a quick change of settings as well. Change the mapping to UV and set it to your first UV map. Remember to do this with every texture in every material or it wont bake correctly.
This ensures that we bake from the tile textures to the new UV map.
At this point, let's look at the difference between the tile UV map and the bake UV map. Change to Textured view next to Object Mode on the selection bar. Click on each UV map and see the difference.
Tile map:
Bake map:
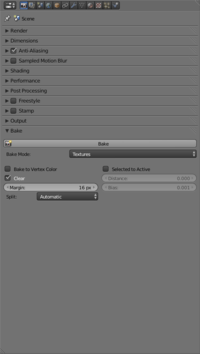
Now select your bake UVs and go to the Baking tab under the Scene menu. Change the settings to Textures with Clear selected.
Put it in the oven for 2-10 minutes depending on your hardware specs and when it's finished you should have a spiffy new texture.
That sums it up for basic tile baking technique however if you have textures that use transparency, there is more to it than just the above.
Transparency
Unfortunately Blender won't automatically bake Transparency, to do so you will need to edit the settings of the material.
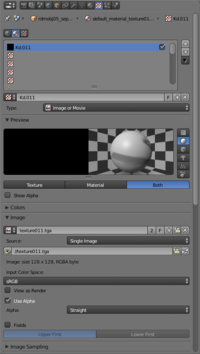
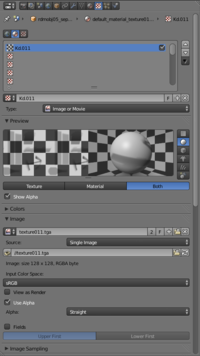
The material below shows a black texture but the primitive does not, to fix this press Show Alpha underneath the Texture bar.
Before:
After:
Now we can see that the texture actually has some Alpha showing through and thus will show as transparent in the render viewport, but we still need to modify the materials settings for baking.
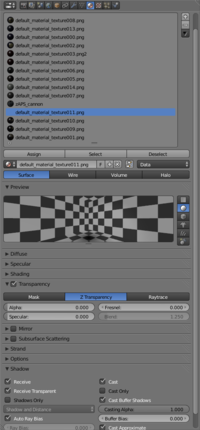
Start by editing the Materials Z Transparency to 0 Alpha and 0 Specular. Under the Shadows tab check Receive Transparent. The primitive display will disappear but don't worry, it will return momentarily.
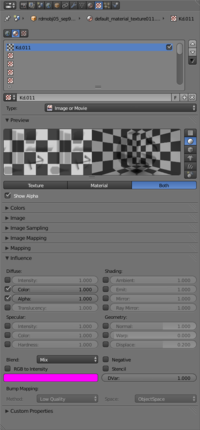
Next edit the Image textures Influence settings to include Alpha and leave it at 1.
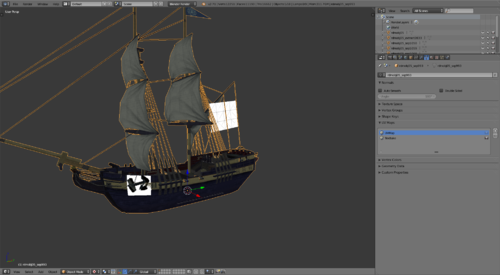
The primitive comes back but as you can see, it displays only what we want it to. After another quick bake, editing any textures that include Transparency along the way, we have a texture that renders correctly.
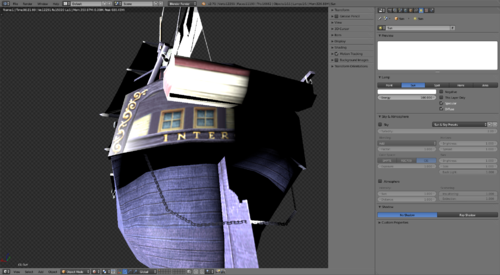
Switching to Rendered View next to Object Mode shows the Transparency as it will appear in FSO.
The above is false, FSO has some problems with rendering transparency when it isn't part of a -trans map. If you need transparent sections on a ship, you'll have to wait until I get it all sorted out.
Coming Soon
Baking color multiplied tile textures to specific faces.
Boolean and Displacement Modifiers
Reserved
